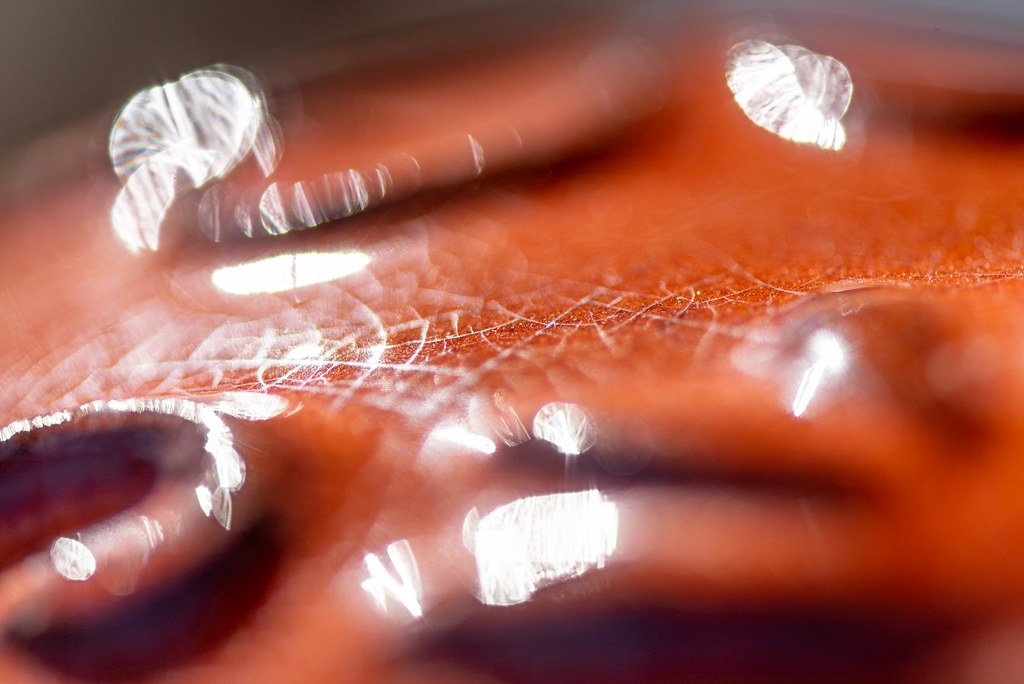
I got my macro lens right when everything was turning brown and gray for the winter, which meant that I had to wait months until shots like this would be possible. I don’t know if I would say without qualification that it was worth the wait, but I will say that as things green up a bit and colors start showing up, I’m having a lot of fun taking pictures of it all with this lens. I’ve taken shots like this before with close-up filters, but the rendering of the out-of-focus elements (i.e. the foreground and the background) has always been rather subpar. Close-up filters are also much trickier to work with in general, and offer much less latitude in terms of focusing and depth of field, whereas an actual macro lens gives you a ton of freedom for experimentation and creativity. (Though to be fair, the latter is also much more expensive than the former; if you just want to get started with close-up photography, you can’t go wrong with close-up filters.)
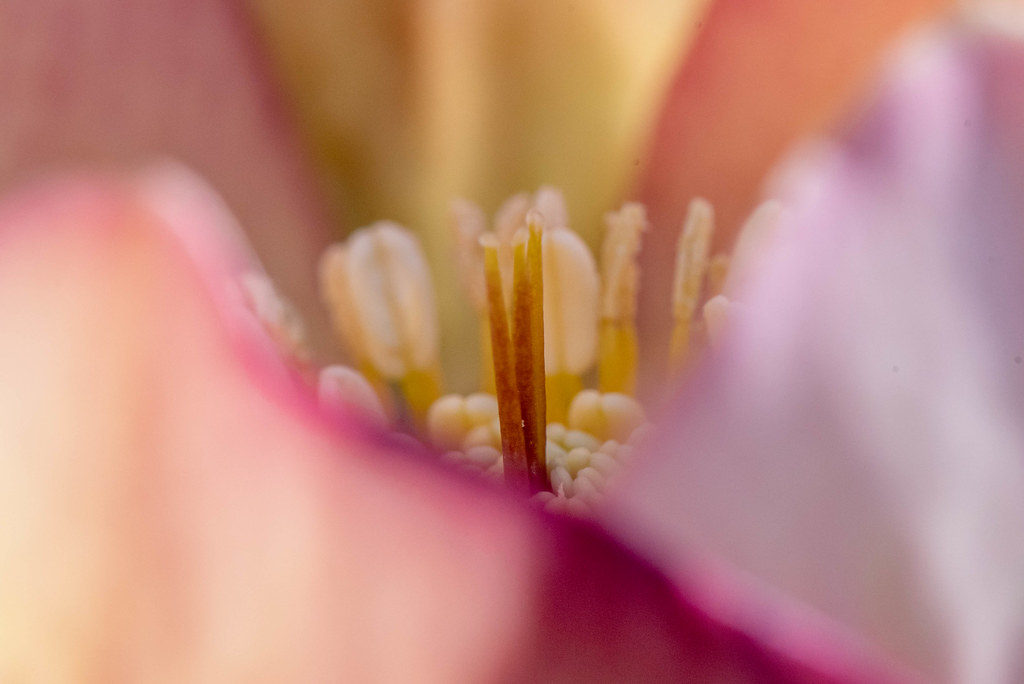
When I saw this flower close to the ground, I was a little unsure of what exactly should be the point of focus. I tried a couple of things and eventually landed on the stigma, which seemed appropriate since it was a little different in both size and color compared to the rest of the flower. It was tricky to get it in focus though, since I was shooting handheld and low to the ground. I couldn’t look through the viewfinder to focus which meant I had to use the flip-out LCD screen on my D750, which wouldn’t be a problem if the contrast-detect autofocus was more reliable and better suited to moving subjects. (Even micro-level movements matter a great deal when doing macro shots.) I compensated by using a small aperture and…well, just taking a ton of shots and hoping one would work out. And it did! I’m pretty happy with the result and it gives me ideas for other shots to try in the coming weeks and months.