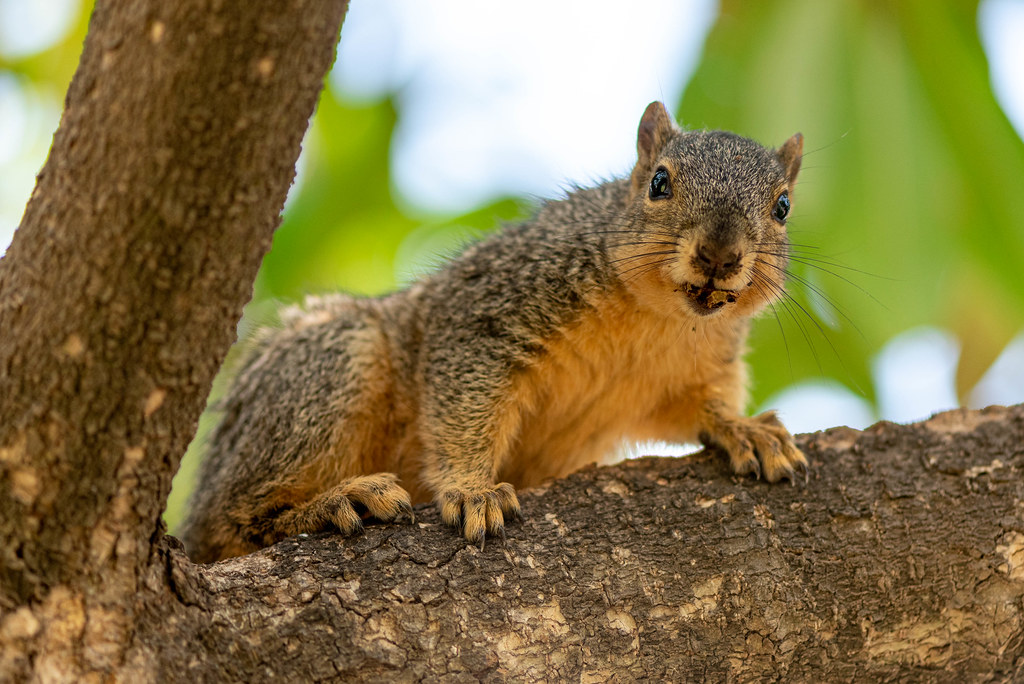
One of my favorite spots to take pictures is our local botanic garden, which is on the west side of town tucked between a highway and a small creek. As much as I enjoy taking photos near Theta Pond, I mostly just go there because it’s convenient. The botanic garden is stuffed to the brim with flowers, plants, native grasses, decorations, artwork, and offers a huge variety of photo opportunities you can’t really get anywhere else. One evening in late May my wife was on the phone with her parents and our kids were getting a bit restless, as kids tend to do, so we hopped in the car and drove down to the garden where they played in the treehouse and I walked around with my Nikon D750 and 105mm macro lens to look for some photo opportunities.
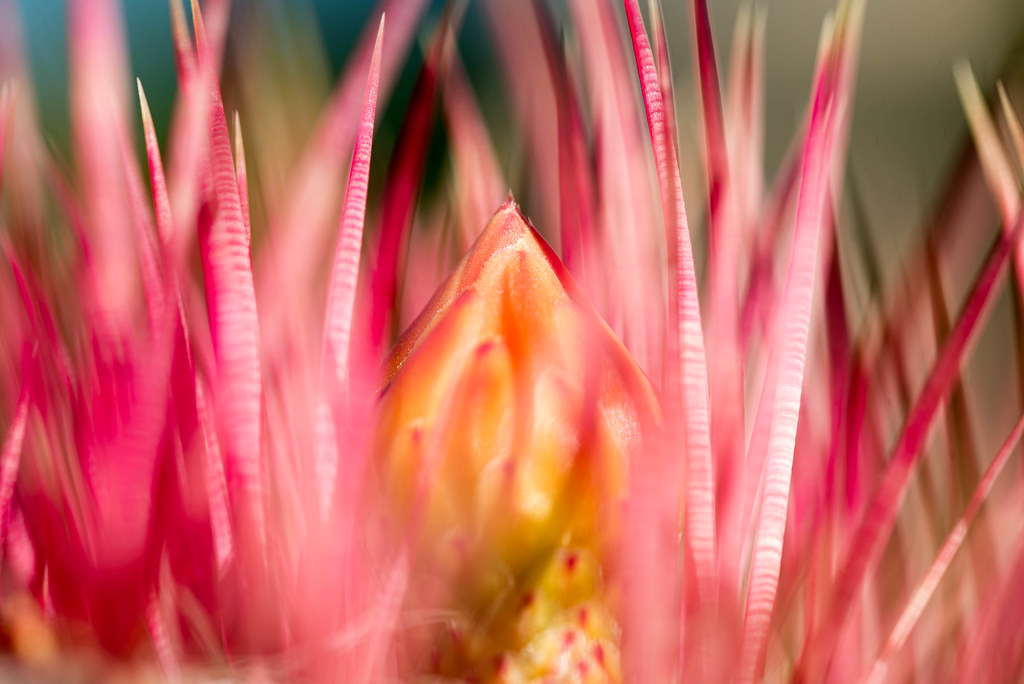
Believe it or not, this is a cactus. A very close view of a cactus, but a cactus nonetheless. I don’t know what type or variety of cactus you’re looking at here, but my kids would probably describe it as “large and in charge.” It might be something called a Grafted Moon (which, in turn, sounds like something out of Elden Ring) but I’m not sure and, to be honest, it doesn’t matter a whole lot to me. What matters is that this is a pretty cool picture and I’m glad I got the chance to take it even though the particulars of the plant evade me at present. The orange bulb looks a bit like a flame frozen in time admist a sea of otherworldly spikes and spires, and while that’s a far cry from the truth it is fun to use photography to see somewhat normal sights in a slightly new light like this.
As for the particulars of the picture, I went back and forth between f/11 and f/18 (with a few at f/4 just for fun, and as you might imagine those did not look good at all since the depth of field turned the entire image into a blurry mess) and while my f/18 shots turned out nice and sharp, I did like the slightly thinner in-focus area of this shot compared to its smaller-aperture counterparts. The sun is behind me and to my right which gave everything a bright even lighting effect, though I do wonder what this scene would look like if I re-shot it late in the day when the sun is low on the horizon to get a backlit scene. I didn’t want to take too long getting this shot and eventually just went back to wandering around looking for more pictures and, of course, my kids who were happy to get a bit of unsupervised playtime :)