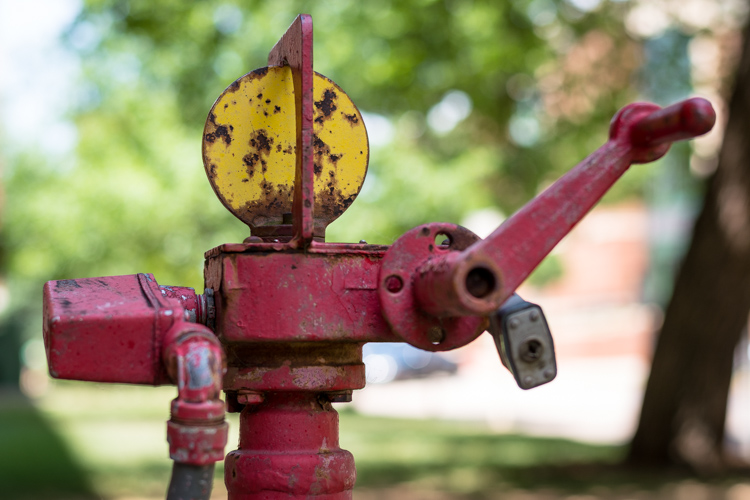
Normally when I post pictures of anything relating to nature, it’s with a disclaimer that I don’t know what it actually is that I’m looking it whether it’s a flower, tree, shrub, leaf, etc. Well, the same goes for this thing here in that I don’t really know what it is, but it reminds me of an old-time traffic signal hence the name I chose for it. I think it’s actually more a water spigot though I have no idea why the flap at the top is yellow. And it’s this clash of red and yellow that attracted me to the scene in the first place and made me pause to take a photo. I thought it was a fun and interesting object, so why not snap its picture?
There’s something else here too, which is the blurry background–or specifically the spots of light in the top-right corner of the frame. My brother Andy often shoots with a 50mm lens, and often wide open, such that it’s not uncommon for his pictures of friends, family, or just everyday objects to have a nice sense of separation between the subject and the background. One of the effects of using such wide apertures is that not only will the background get blurry, but spots of light will tend to get distorted and oval-shaped near the corners of the image. Andy’s pictures often display this effect and in my opinion it’s a nice, pleasing visual artifact that helps bring the viewer’s attention to the main subject of the picture. So when I photographed this…thing, I deliberately composed the shot such that the background would contain hundreds of little light points as the sunlight broke through the trees. The result was a swirling mass of blurry bokeh, and if you look in the top-right and bottom-right corners the balls of light are misshapen and look like little footballs.
(More information on this effect can be found here.)
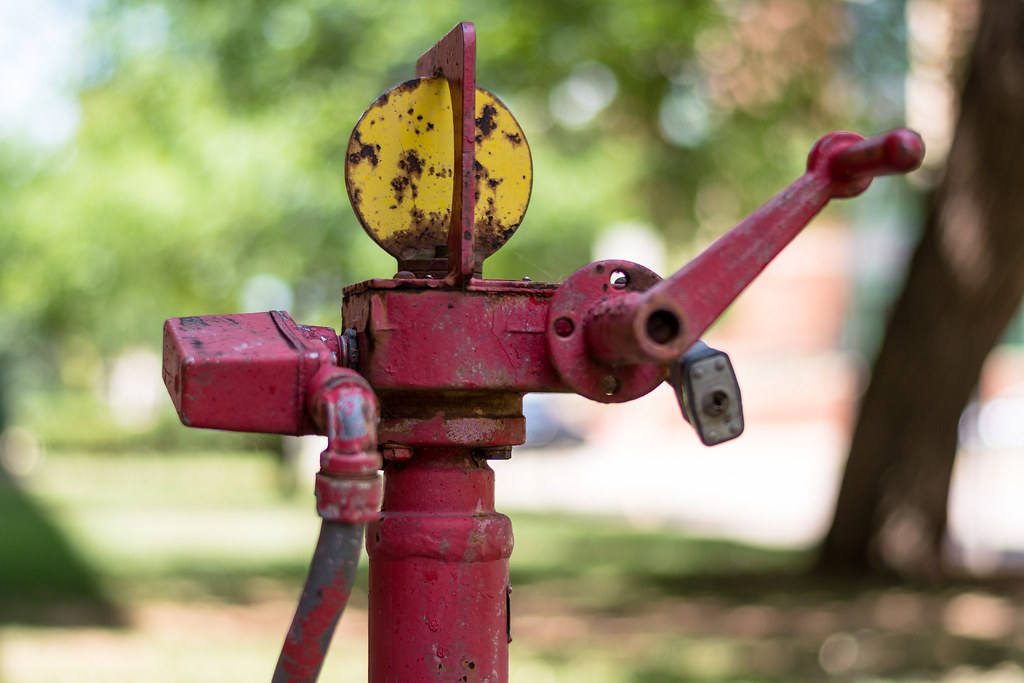
In order to get the desired cat-eye effect I had to shoot wide open at f/1.8, which meant that the rotating arm in the foreground ended up being more blurry than I would have liked as well as an overall lack of sharpness compared to the same image shot at f/2.8. But when I looked at the f/2.8 version it just didn’t have the same pleasing background effect as you can see here:

Sure the 2.8 version is sharper, but the background is much weaker as a result of the smaller aperture and it’s not a tradeoff I was willing to make when deciding which image to post for this week’s picture. It’s a fun technique to play with and if you’re looking for something to try with your camera then I’d recommend giving this a try, especially if you have a nice fast prime lens :)

Dennis says
We have something similar on our campus (it looks like it is left over from the 50s) that I have always wondered what it was for. I liked your explanation for the aperture setting and illustrating the difference between the two settings and why you chose the wider aperture. I like playing around with the wide apertures to see the effects on the background and the unintended effects on the subject. Thanks for your explanation.
Simon says
Thanks for your thoughts, David. I never know what these old pipes and junctions are on campus but it’s kind of fun to make up stories about what they were used for back in the day, and what they might be used for now :) I’m glad you liked the post, and playing around with wide apertures is one of the best parts about shooting with primes!
Rebecca says
I remembered your recent posts about not shooting wide open when I went out last week to take photos of my garden. One of my goals was to capture a sunflower which the birds planted in an awkward spot in my garden. There is not a way to catch the bloom straight on. I wanted a backlit photo of it with bokeh created by the trees in my back yard. I had to photograph the bloom at an angle, or have ugly deer netting in front of it. By closing down the aperture a bit, I was able to get the whole sunflower in focus, even though it was angled away from me, but still have the pretty bokeh that you found here.
Thanks for the lessons.
Simon says
I’m trying to imagine that backlit photo of the sunflower and now I really want to see it, Rebecca! Thanks for sharing your tips about closing the aperture down a little bit in order to control the depth of field a little bit. It’s little things like that which can have a huge impact on the resulting image!